
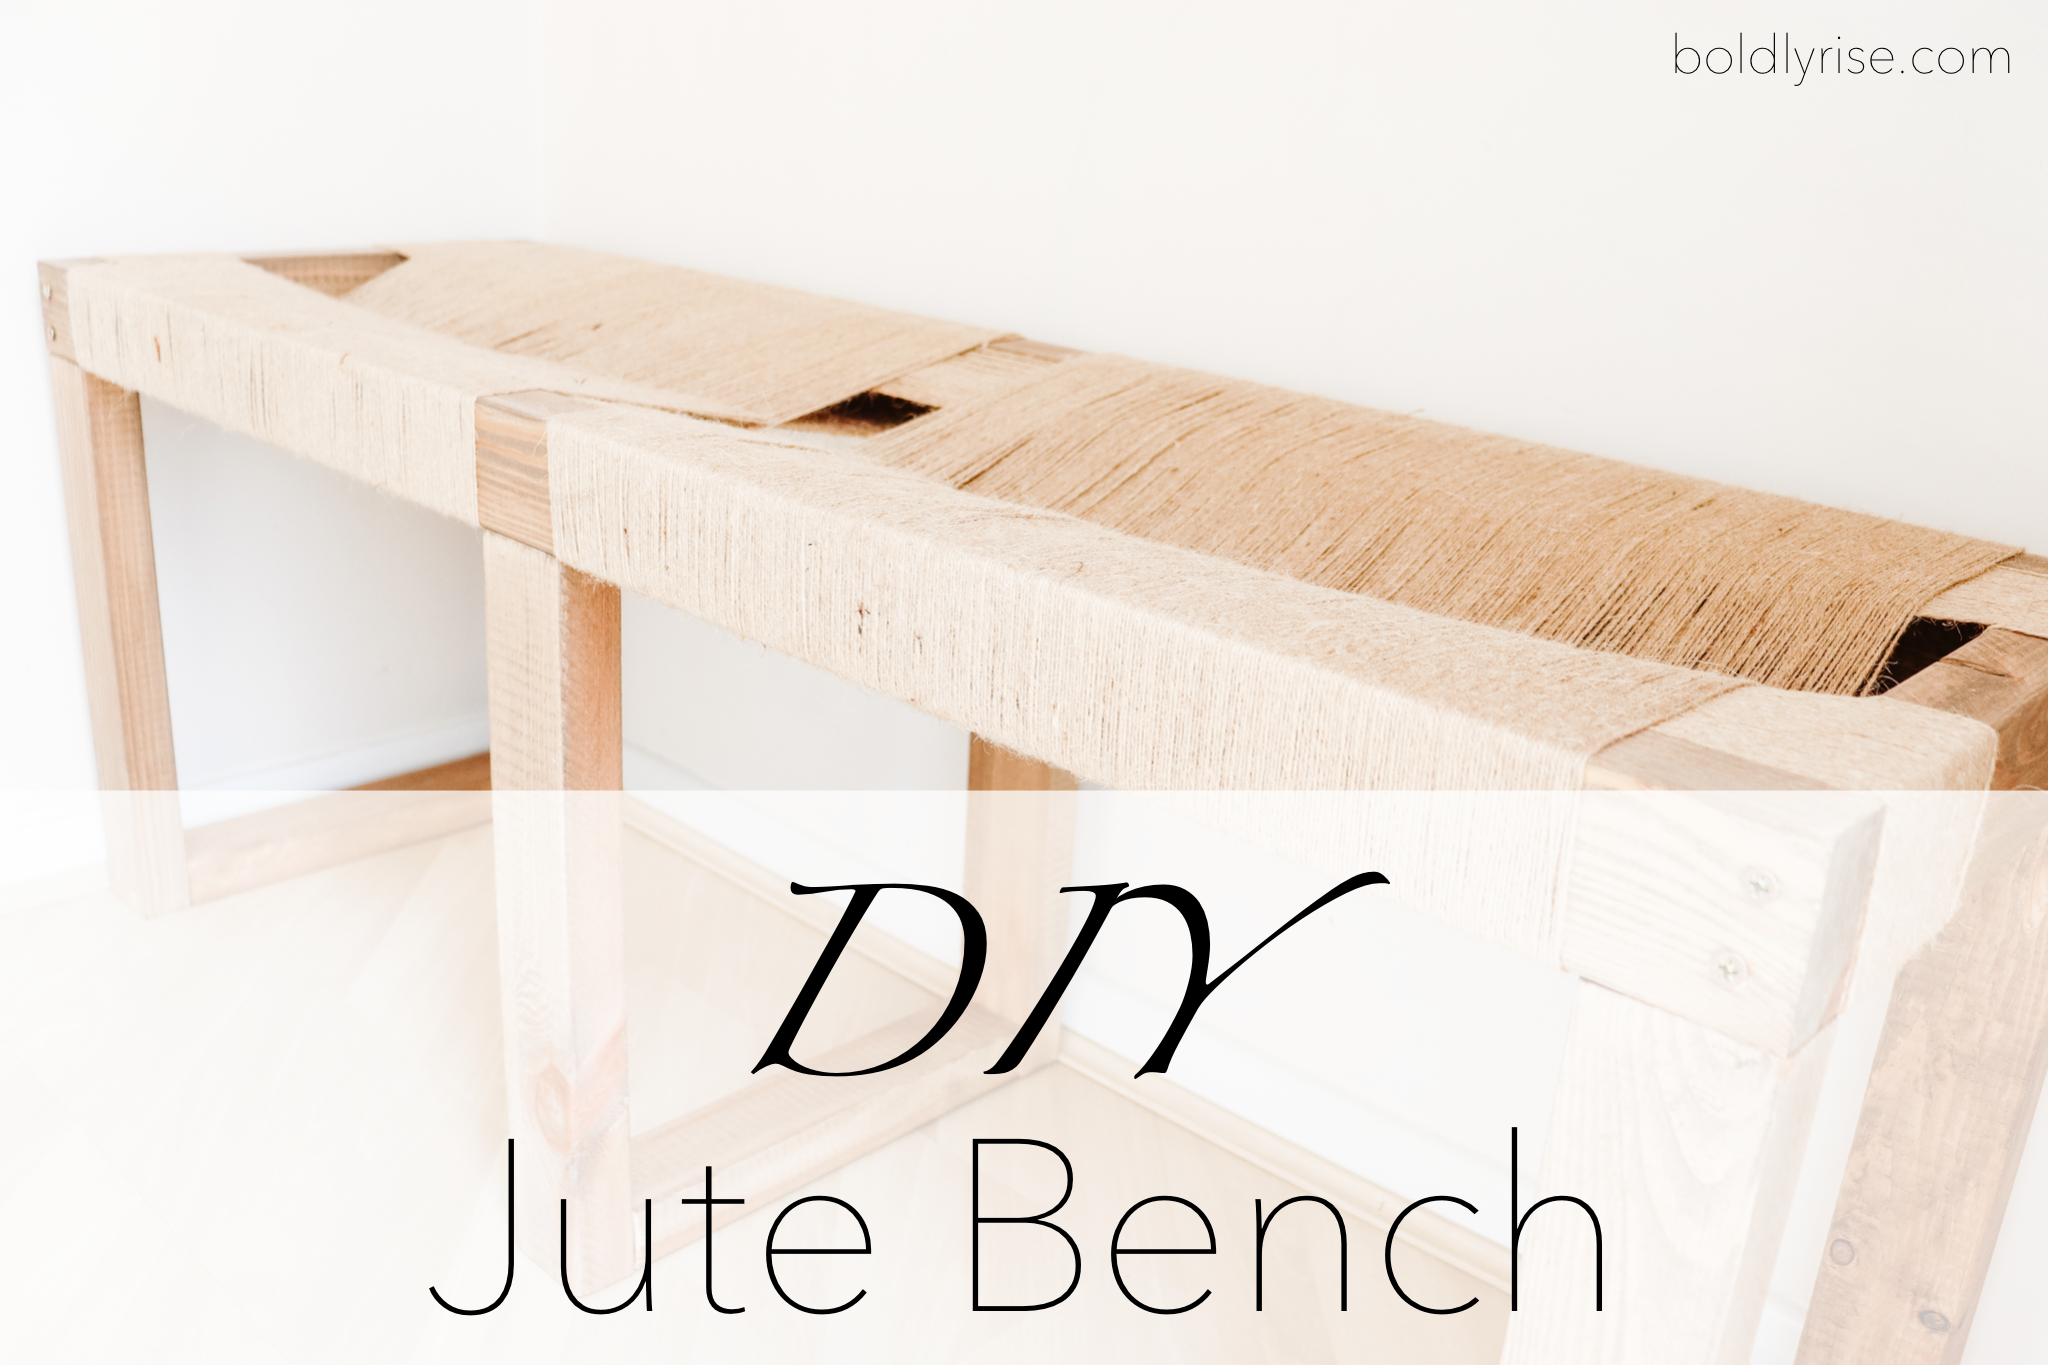
For my entryway nook, I decided to use a bench in my design for people to sit on while taking off and putting on their shoes. It also works great for setting down items as I’m coming through the door. I saw the idea for a jute bench on Instagram and wanted to give it a go (if I could remember who I saw it from, I’d credit you)! I love the design and how it fits in with my decor style. So if you’re wanting to give it a go as well, here are the steps to create your own DIY Jute Bench!

Supplies
Wood (we’ll talk about sizing later)
Jute string (1500 ft)
Pocket hole screws
Pocket hole tool
Drill
Stain/Paint
Wood glue
Clamps
Sand paper
Steps for DIY Jute Bench
Step 1: Cut your wood
My bench is 47” x 18.5” x 15”. The boards I bought were an odd size (since we’re living overseas). The actual board size is 1.5 x 2.5”. I would recommend buying wood smaller than a 2×4, but any board size works as long as it’s thick enough to be sturdy for someone to sit on.
Measure and cut the size lengths of wood you want for your entryway.
If you want to follow with my specifications, here is a “blueprint” of my bench.

Step 2: Sand your wood
After cutting your wood, sand it down so it’s nice and smooth! Start with 60 grit, then move up to 120, and finally use 220. If you would like to get your wood to be sanded better than this, try doing 60 – 80 – 120 – 180 – 220. However, I chose to only do the three steps for a more rustic look to the wood. If you’re sanding by hand, the three stages of sandpaper are fine. But if you’re using a sanding tool, I’d recommend adding the extra couple sandpaper levels.

Step 3: Stain/paint your wood
I highly recommend staining over painting to retain the wood’s natural look. However, painting can look just as amazing! After you’re done sanding, wipe your wood pieces down to get rid of any sand particles there may be. Apply your stain or paint according to the product directions.
Step 4: Create your pocket holes
Before you start gluing and assembling the frame of the bench, you’ll need to drill the pocket holes for the pocket hole screws. This specific type of screw is necessary for creating a strong and sturdy hold. I tried to screw the wood pieces together without pocket holes, but the bench was not as sturdy as I would have liked it to be – especially considering that people would be sitting on this bench – and I couldn’t join certain pieces together.

Step 5: Assemble the frame of the bench with wood glue
Once you’ve finished drilling your pocket holes, you’ll want to start assembling the frame of the bench with wood glue. Start gluing each board together where it needs to be and clamping them after you glue so it creates a strong bond. You will have to take time to individually glue each joint together unless you have several long clamps on hand. Also, make sure to glue the pieces in the way the pocket holes go. I have included on the blueprint of my bench where the pocket holes need to face… I made many mistakes placing the pocket holes the wrong direction.
Step 6: Drill the screws in
Now that your bench is assembled with wood glue, it’s time to drill the screws in. I suggest clamping the boards that you’re placing the screw in and through just to be safe. In case the glue didn’t get a great hold, you want the screw to be able to keep the boards flush with each other (no spacing in between).

Step 7: It’s jute time
I’m going to attempt to explain how I wrapped the twine, but this is where you can take creative liberty and do whatever design you’d like with the twine as long as it gives a good hold. The jute twine constructs the seat of the bench.
I started by wrapping 2 sections along the length of the bench. They’re each about 4.5” in width. Then I started doing an X pattern back and forth. I tied the jute twine really well on one side, and pulled the twine over and under, then over and under on the other side, then over and under again on the first side and back and forth.
With this design, I stopped where the middle leg of the bench was. And then resumed the same over and under process on the other half of the bench.


_____________
And that’s it! Be prepared though, this DIY is a time consuming project. Between the drying of the glue and wrapping the jute around the bench, it will take quite a few hours to get everything done.
I would love to see and hear how your DIY jute bench project went! Tag me in your picture on Twitter, Facebook, or Pinterest (in the “tried” section). If you have any questions, feel free to ask them in the comments below.

Pin these pictures and share with your friends!


