
We have never owned our own home. With as much as the military has moved us the past few years, it’s been easier to rent. But being a woman who LOVES to decorate our home, I have had to get creative with cultivating the design I would like without doing anything to the actual house. Which means a lot of furniture DIY projects! One piece I worked on a few months ago (I know this post is a little late...whoops!) was our cube storage unit. This was one of the easiest yet most transformative DIY furniture projects I’ve ever done! So I want to share this DIY cube storage makeover with you in case you’d like to give it a go.

Matching Designs and Taking Your Time
Designing our guest room in our British house was a huge project for me during the covid lockdowns. My design goal for this room? Create a cozy boho farmhouse look. But the cube storage unit we had didn’t fit into this design. There was nowhere else to put it in the house. I thought about selling it, but that was quickly shot down by my husband. So I was stuck with this piece that clashed with my design ideas.
Sometimes it takes lengthy brainstorming to work with what you have to get to the design you want.
It’s okay to take the time you need to get the idea right where you want it. You will most likely go through several ideas, scrapping one after the other until you stumble on the jackpot. And that’s okay! It’s easy to see Pinterest boards and Instagram pictures of beautiful homes and think that it took 5 minutes for them to put everything together. NO! That design took a long time and lot of scrapped ideas.
I had several different ideas with this cube storage unit, but it took me time to settle on a design. Most cube storage units use particle board, so DIYing it like normal wood is off the table. Finding the perfect colored and sized bins for an American cube storage unit in a different country was a far stretch. But after some time, I figured it out.

My Design Idea
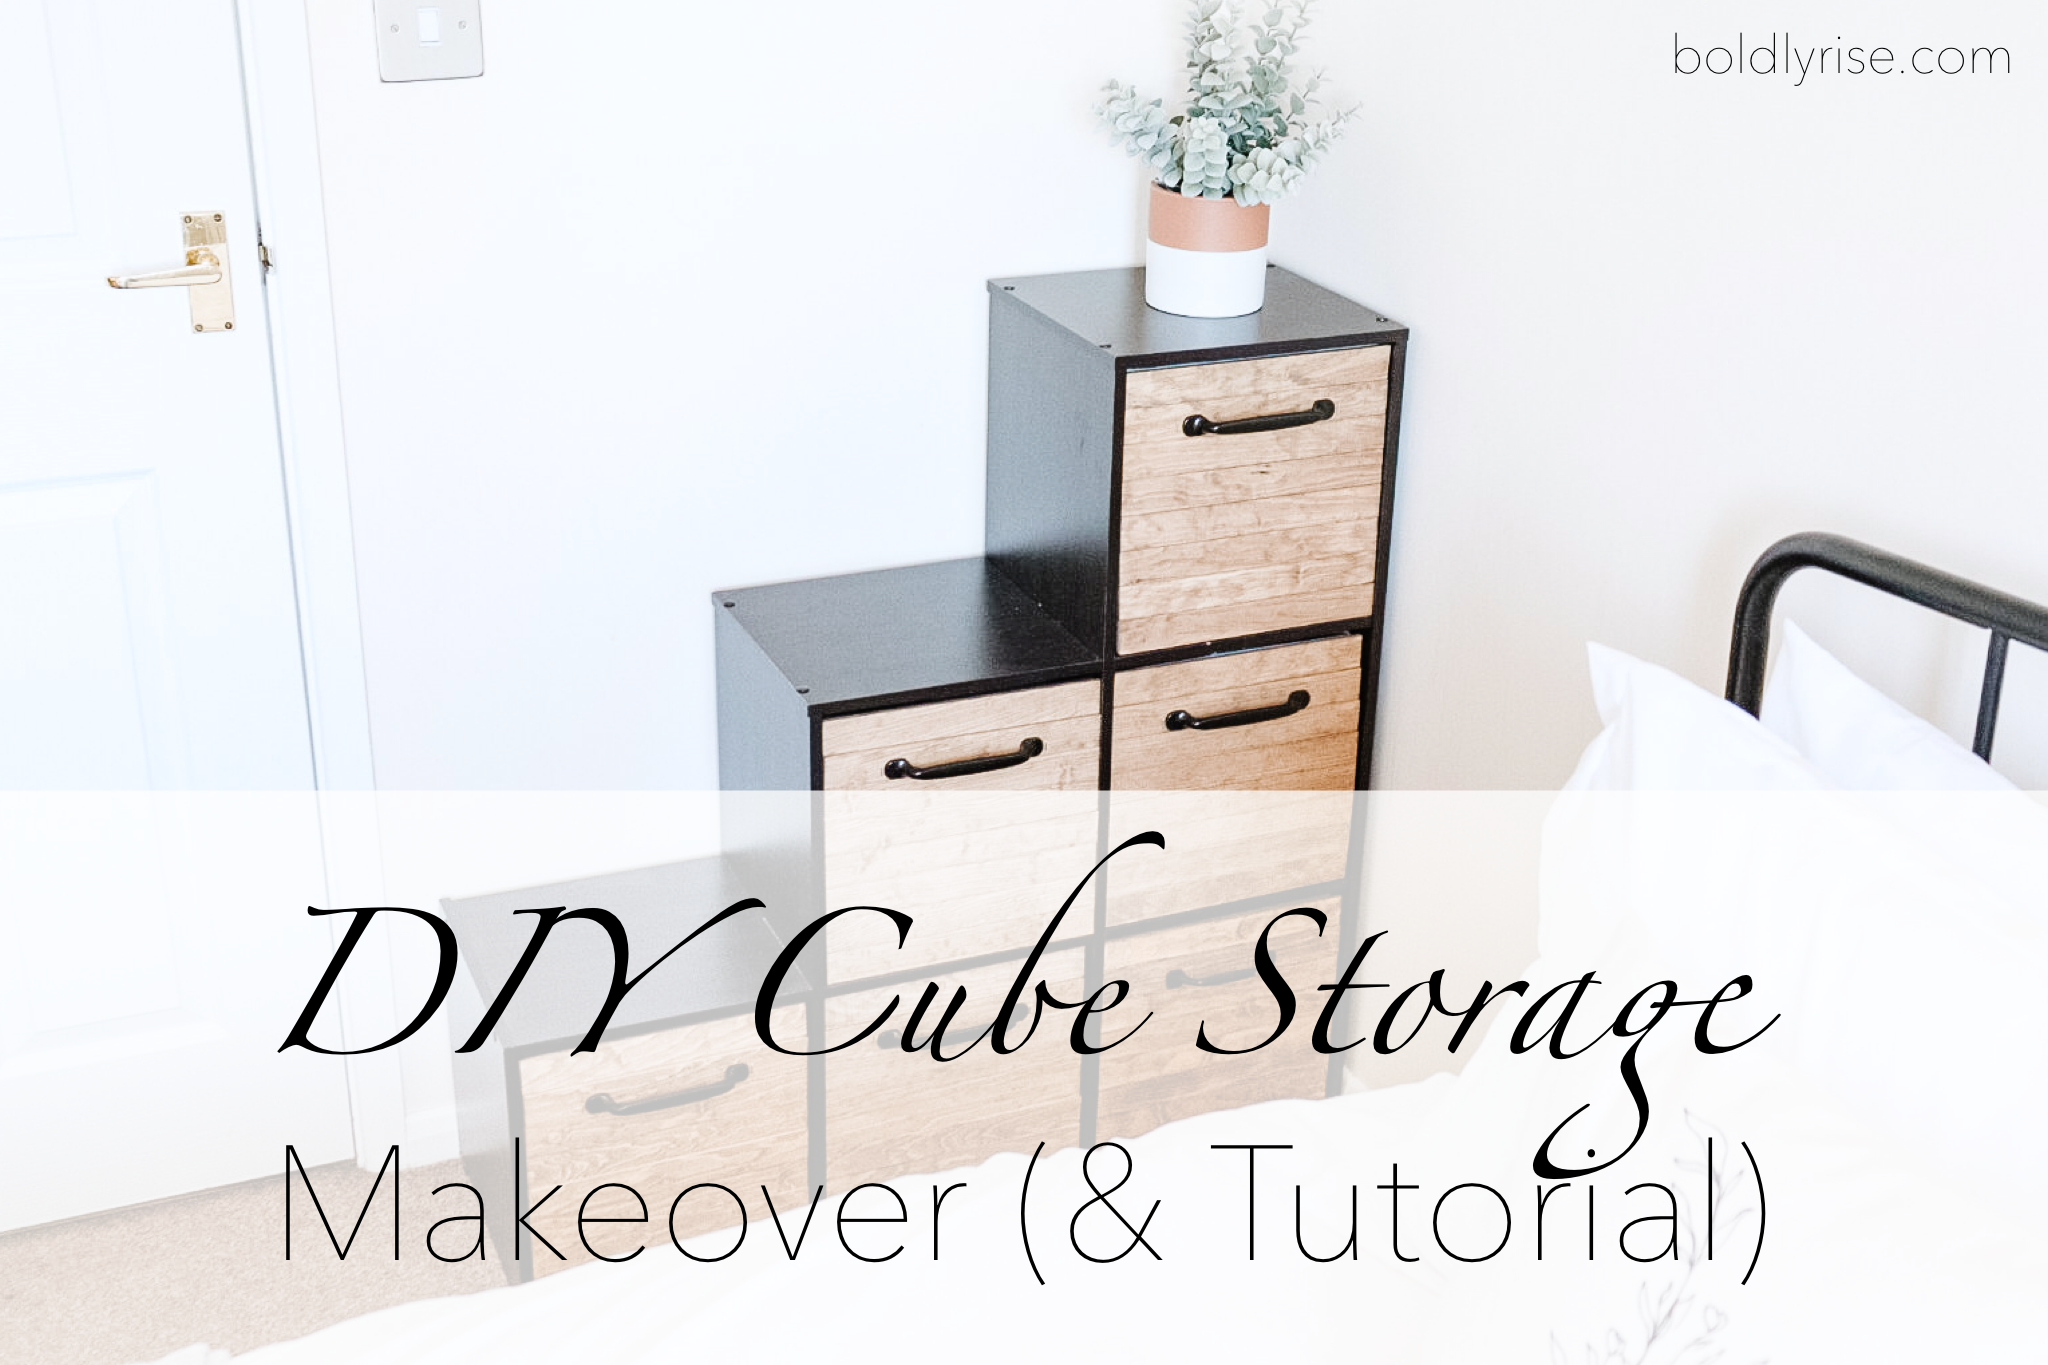
I decided to cover each bin with stained wood pieces to give the piece a natural, rustic look. I wanted to implement the farmhouse charm with wood while drawing in the modern look of thin clean lines.
Supply List
This list is designed for 6 - 11” cube storage bins
-6 - 1⅜” x 8’ pine lattice boards cut into 11” boards
-Wood stain and brush (I used the color Walnut)
-Super glue
-Handles/Knobs
Step 1: Cut your wood pieces
If you have 13” cube storage bins, you’ll have to do the math yourself to figure out the wood dimensions you’ll need to completely cover the surface area of the bin as well as how much wood you’ll need to buy.
Cut each wood into 11” pieces. Pro tip: measure out 11” on one board and clamp it to your saw where you’ll cut it. Then clamp an additional piece of wood at the edge of the 11” piece to create a stopper. This allows you to cut exact size pieces without having to measure each time. Slide the board until it hits the stopper, then cut. Slide and cut. Slide and cut.

Step 2: Stain your wood pieces
Stain the entire wood piece, even though one side will be glued to the bin. It removes any error for potential unstained wood exposure that would harm the aesthetic.
Wait 24 hours before the next step to ensure full drying time of the stain. This also allows the stain smell to not be as strong.
Step 3: Glue your wood pieces
Starting at the bottom, glue each wood piece directly on the BACK side of the cube storage bins. I stress BACK, because typically the front side of the bins have some hole or handle that will obstruct the wood pieces to fit flush with each other. I made this mistake! (You'll see what I mean in the video below).
Do not glue the top and bottom of the wood pieces together because you don’t want glue seeping through and ruining the smooth fitting of the boards together.
Use the strongest super glue you can get!
Allow to dry for another 24 hours before you attach the handles and pull on the bin.
Step 4: Attach handles/knobs to the wood pieces
Tip for finding handles or knobs to place on the front of each bin: you want to find ones that have enough surface area on the bottom because we’re super gluing them to the wood.
Place the glue where the screw would normally go through and press onto the spot you want the handle for 60 seconds.
Again, wait 24 hours for the super glue to fully adhere to the surface before pulling on the bin.
Step 5: (optional) Use a staple gun on the wood piece the handle is connected to
As an added support to make sure the wood will not rip off the bin, I put two staples in the wood right next to each side of the handle. You can barely see it and it gives me a little extra confidence when I pull out the bins.

It actually works!
Because we only have one closet in this house, we rely heavily on our furniture pieces for storage. Some of these bins in our cube storage unit are full of books making the bin heavy. And each time I pull on the handle, the wood stays in place and fully adheres to the bin. I add this to give you confidence that this DIY project not only looks amazing but is functional!
_____________
There’s nothing better than being able to transform your home to the design you like, regardless of whether you’re renting a house or own your home. And with as popular as these cube storage units are, this DIY makes the furniture piece and your home all the more amazing! It isn’t the cheapest DIY I’ve done, but the results are certainly worth the $50 spent (I already had the stain, brush, super glue, and 3 bins, so I had to pay for the wood, 3 additional bins, and the handles outright).
Let me know what you think of this DIY in the comments below and if you’re going to try this!

_____________


October 3, 2023
try repurposing slats from old timber blinds